LibreHealth toolkit installation
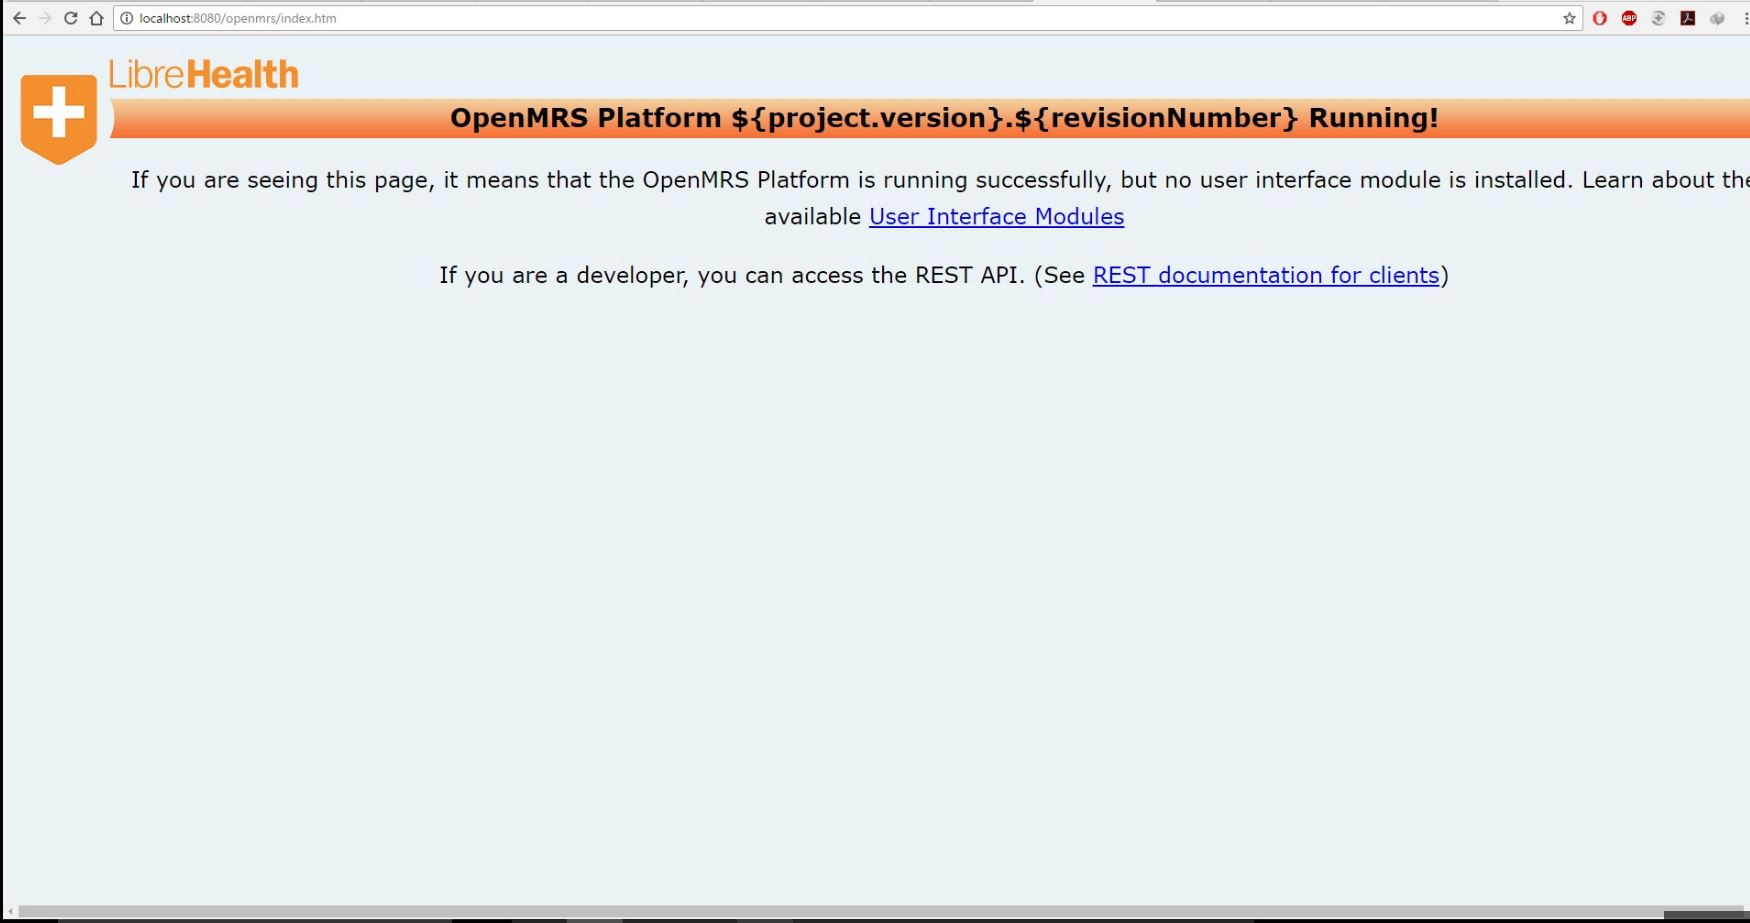
The installation procedure first requires that the user has a MySQL installed in the system and a root password is to be provided which was set during the installation of MySQL. After opening the URL provided in the previous chapter and going through the next step after selecting the desired language, a screen as shown below appears.
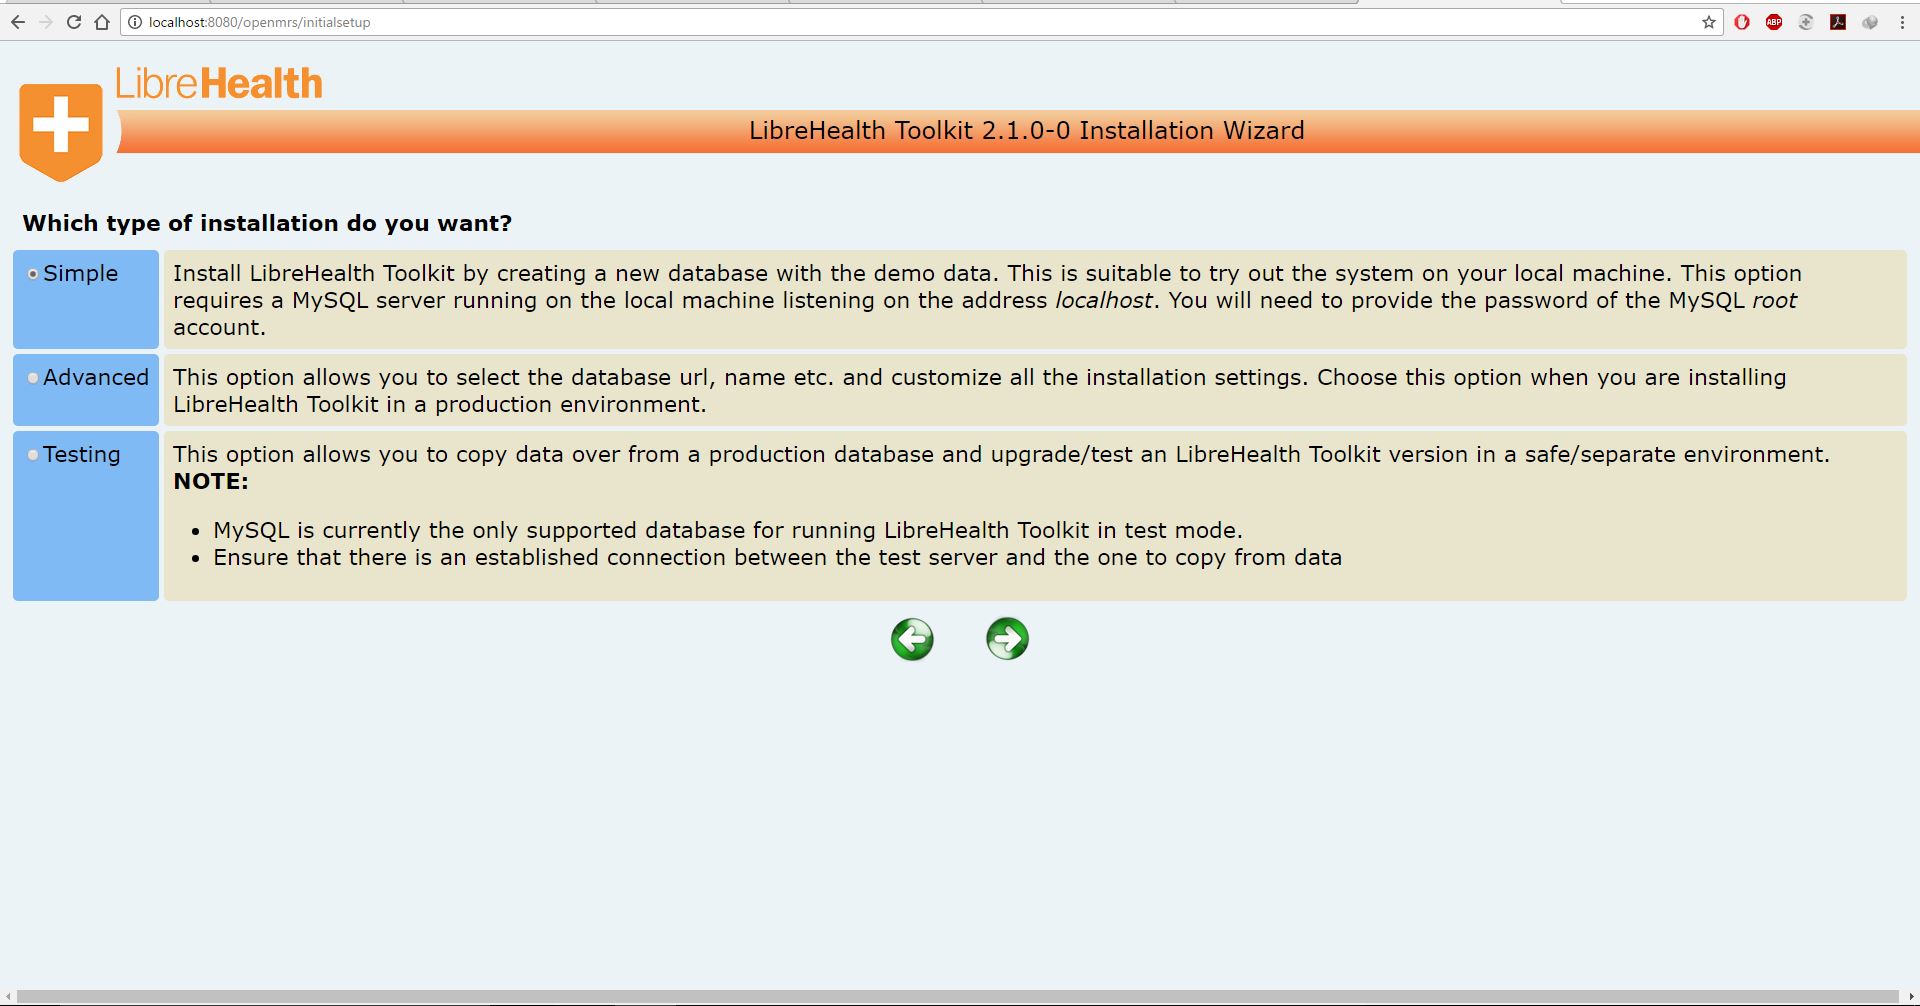
Here I will describe the process to install Simple and Advanced types. The Simple type, as shown creates a demo database and is recommended when running in the local machines. The advanced gives more flexibility over selection of database url, name etc.
Simple
After selecting the simple option, the application asks for a root password to initiate database creation and update. After entering the root password, it also gives the admin id and password which is to be noted down by the user. On entering the root password, a content list giving the details about the database appears.
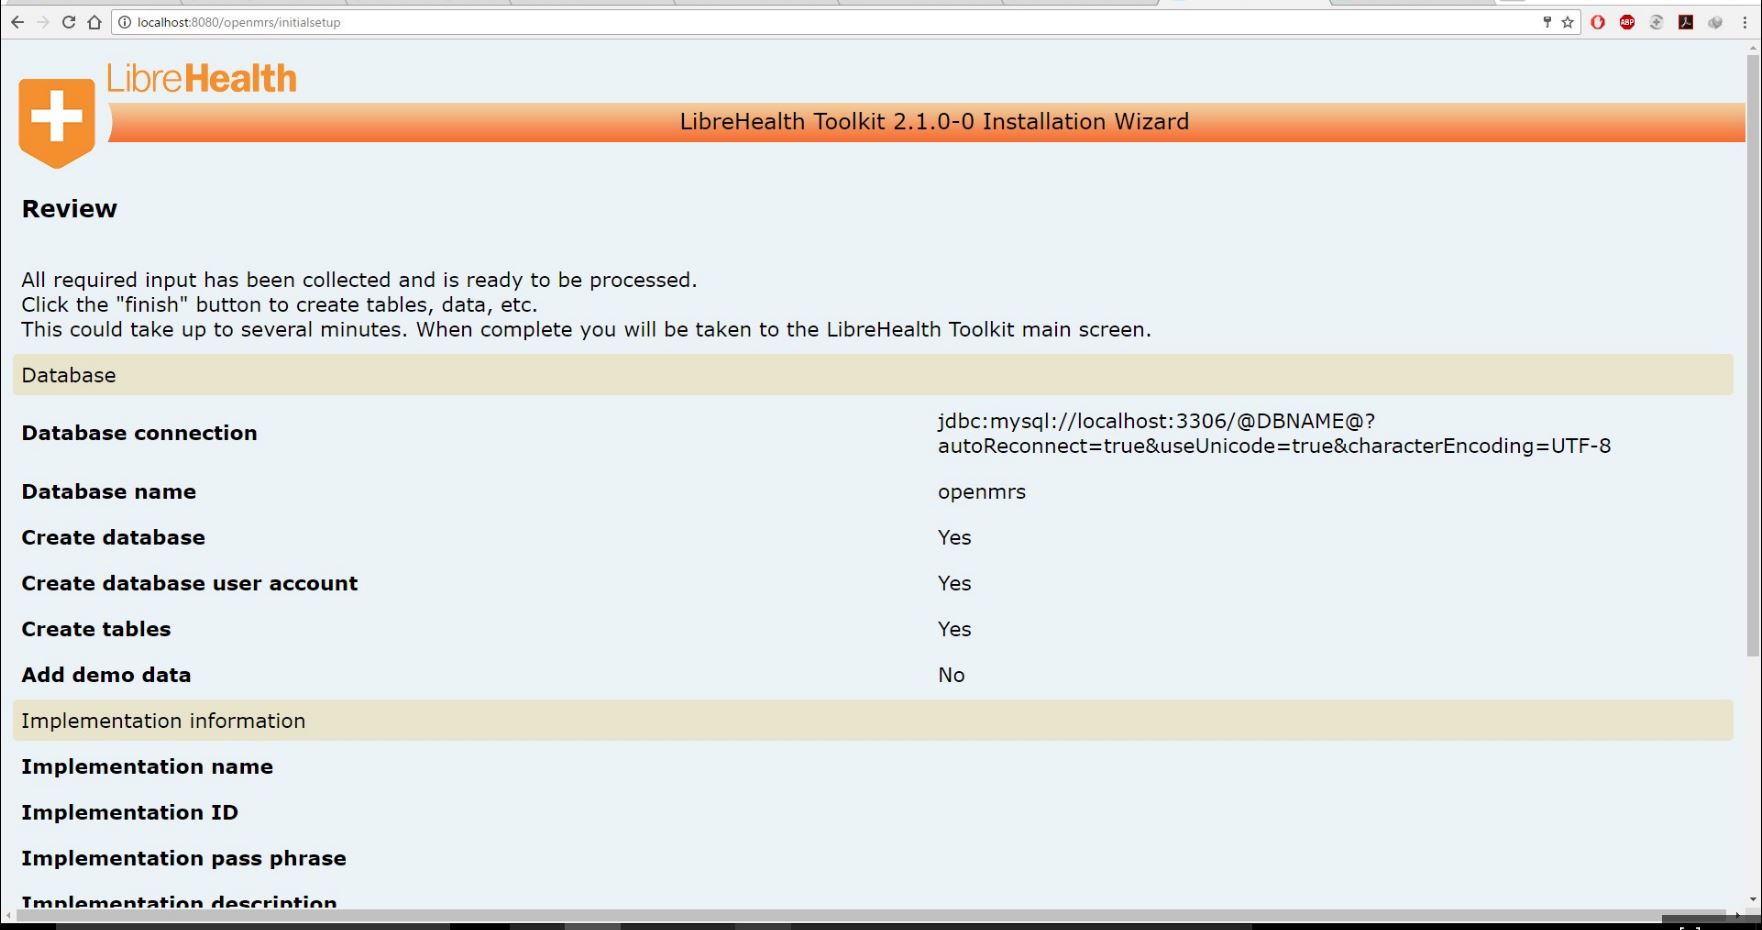
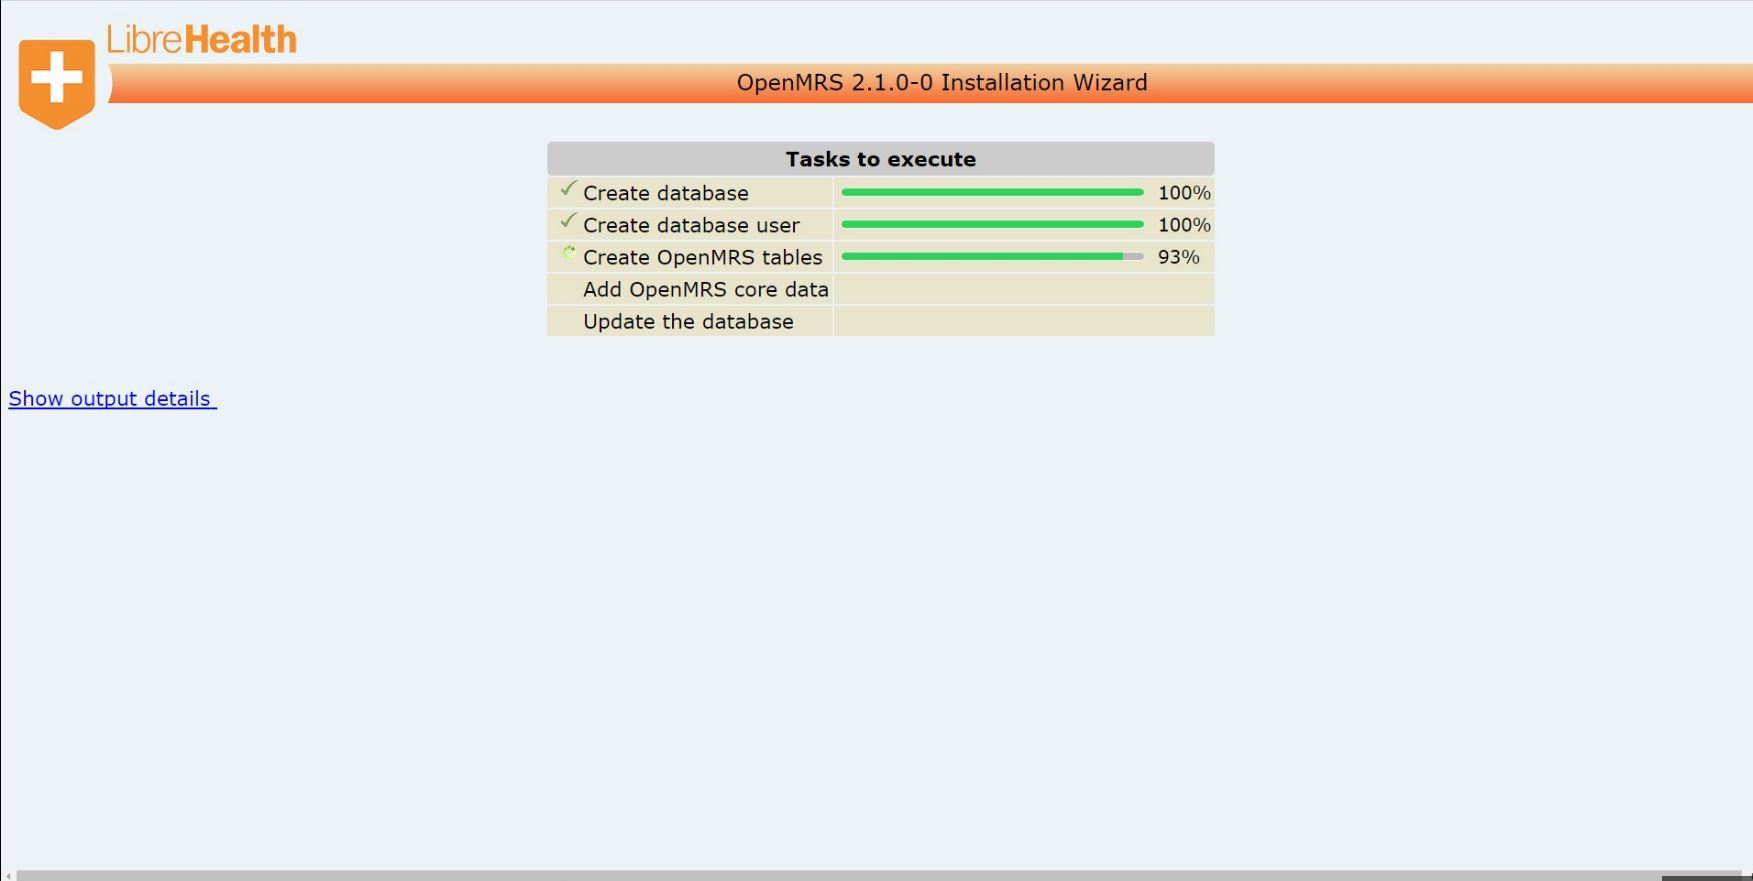
After verifying the properties of the database and following the next step, the application automatically creates the database and tables. It displays a message showing that the OpenMRS platofrom is running successfully.
Advanced
The advanced option gives the user more flexibility over choosing the database url, name etc. and also additional customization settings during the process of installation. This option is mainly used in production environments. After selecting the advanced option, a screen appears where you can select the database connection and an optional setting to choose the database driver name. The options for connecting to a current database or creating a database can be selected appropriately and providing the 'root' password as described under the simple process.
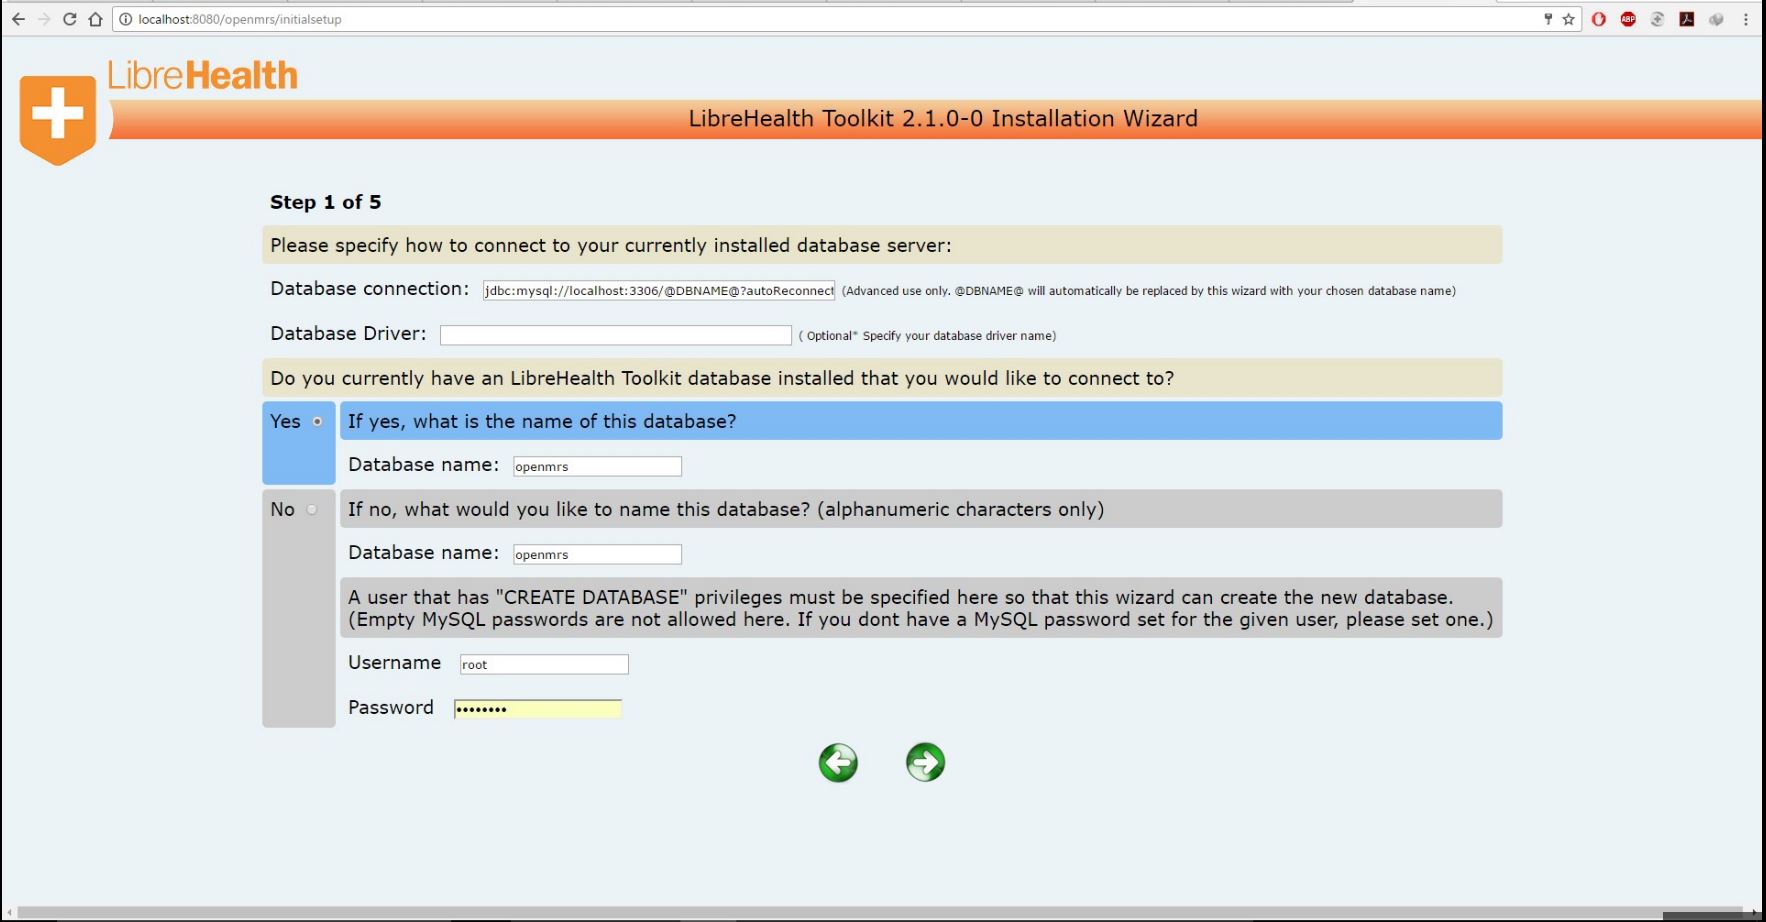
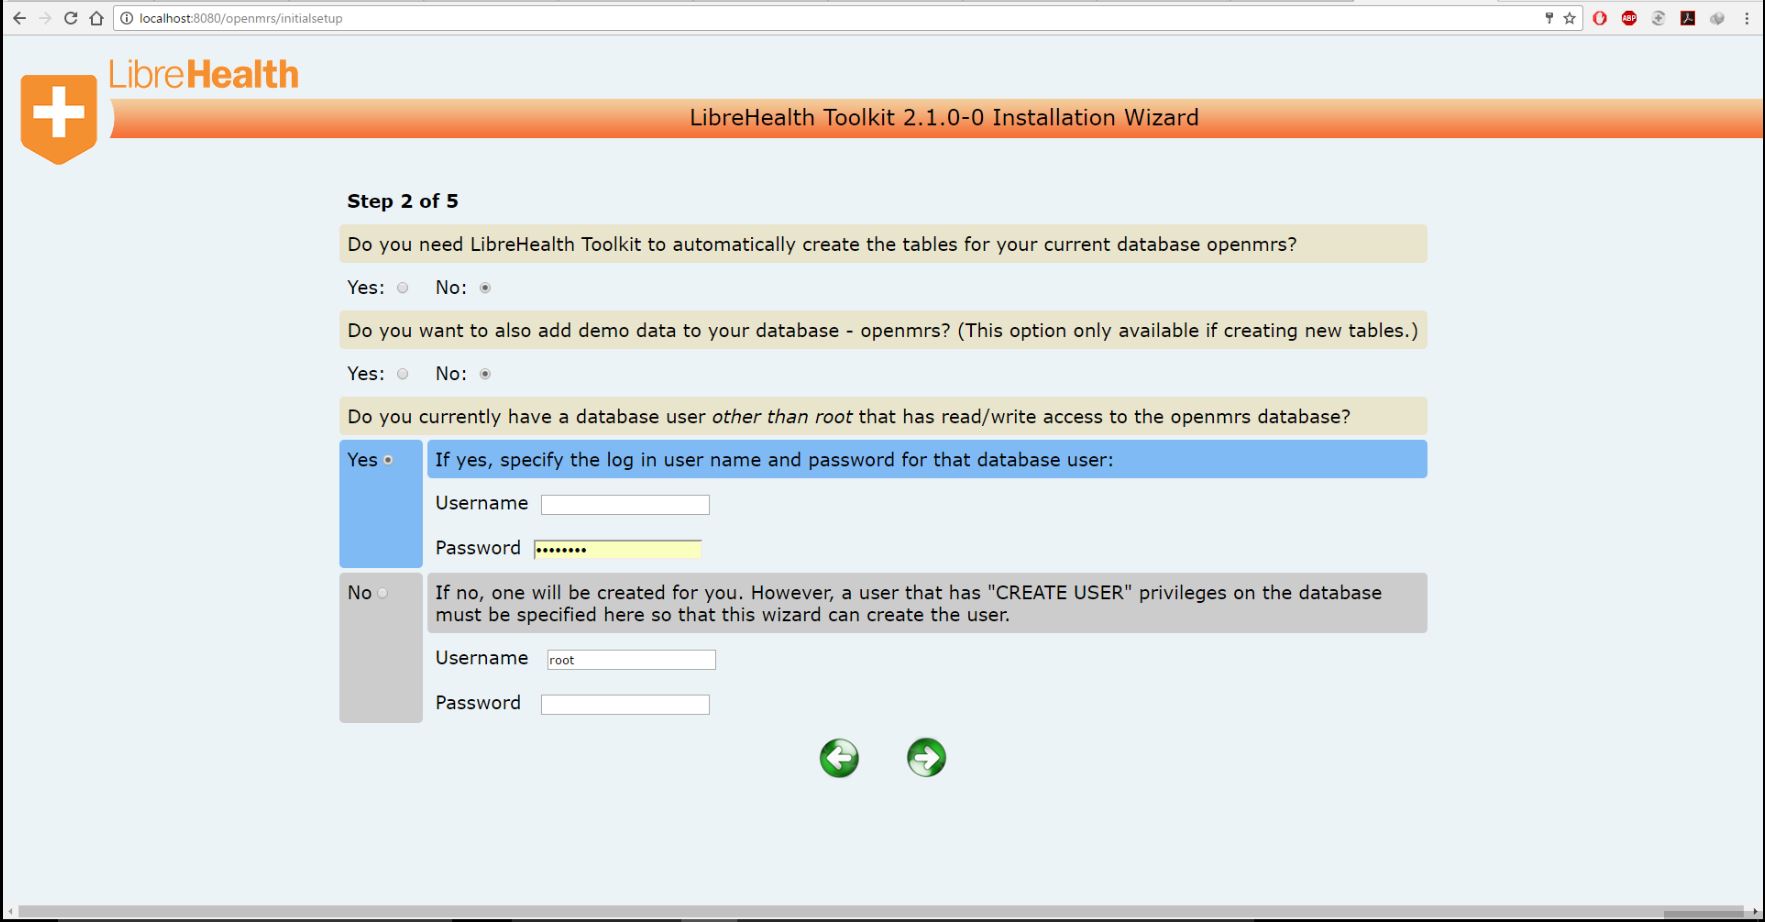
The toolkit also creates some demo tables and values in the database for reference. If the user is granted a read/write access to the openmrs database other than root, the username and password for that particular user can be entered by specifying the yes/no option.
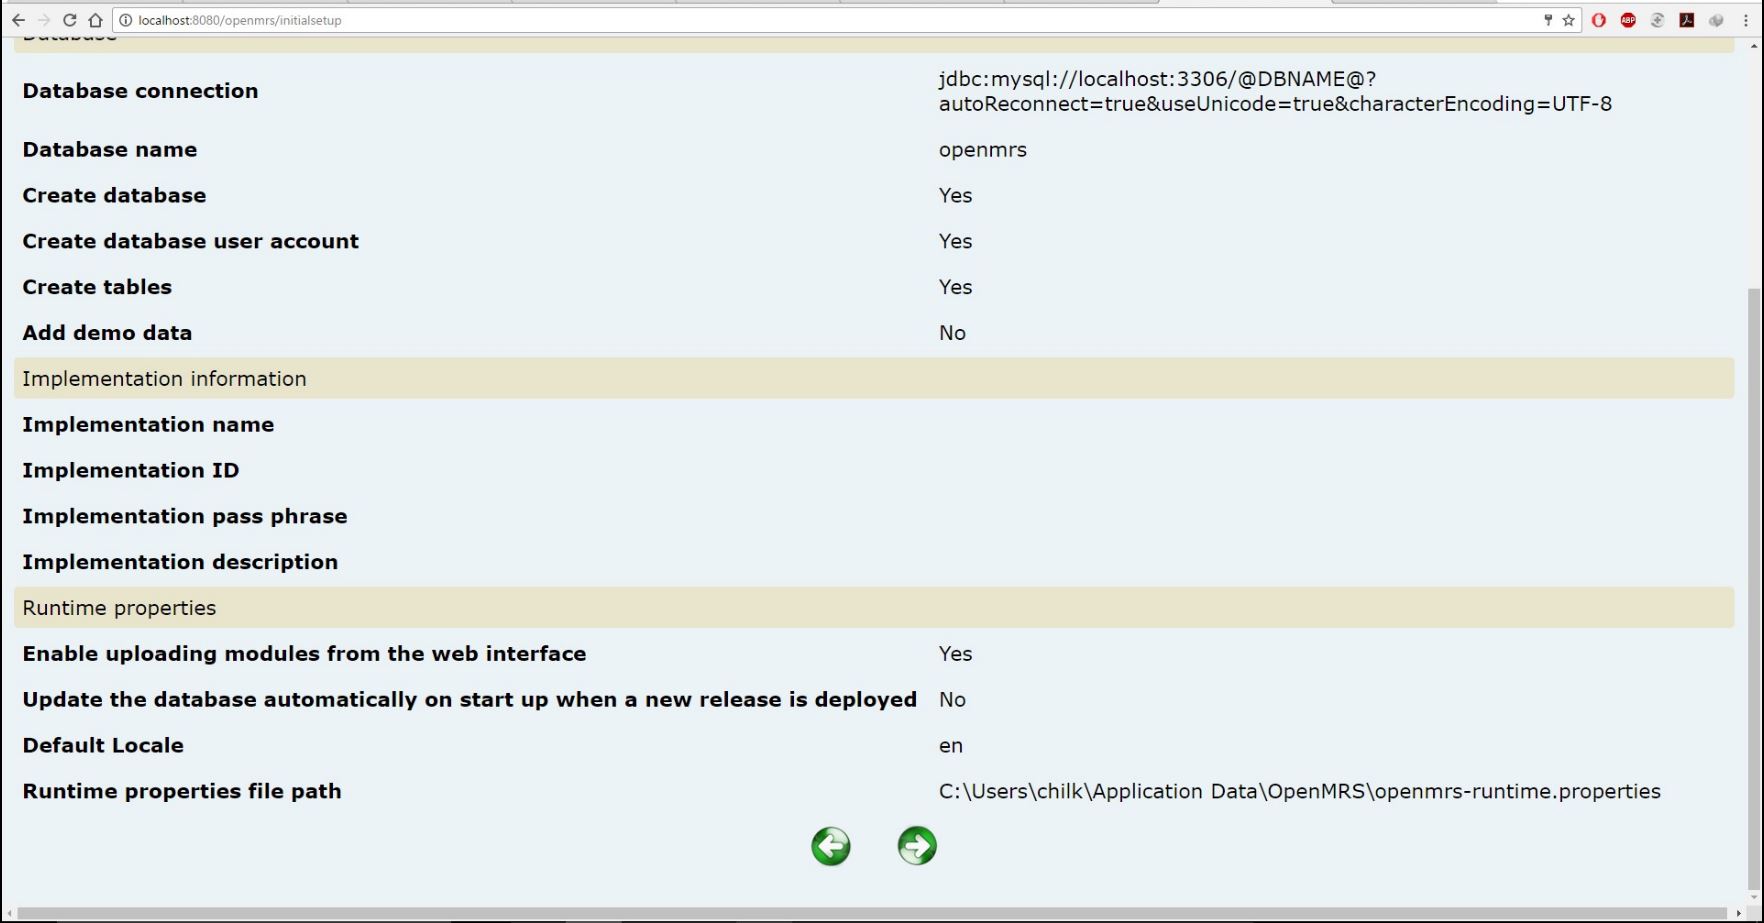
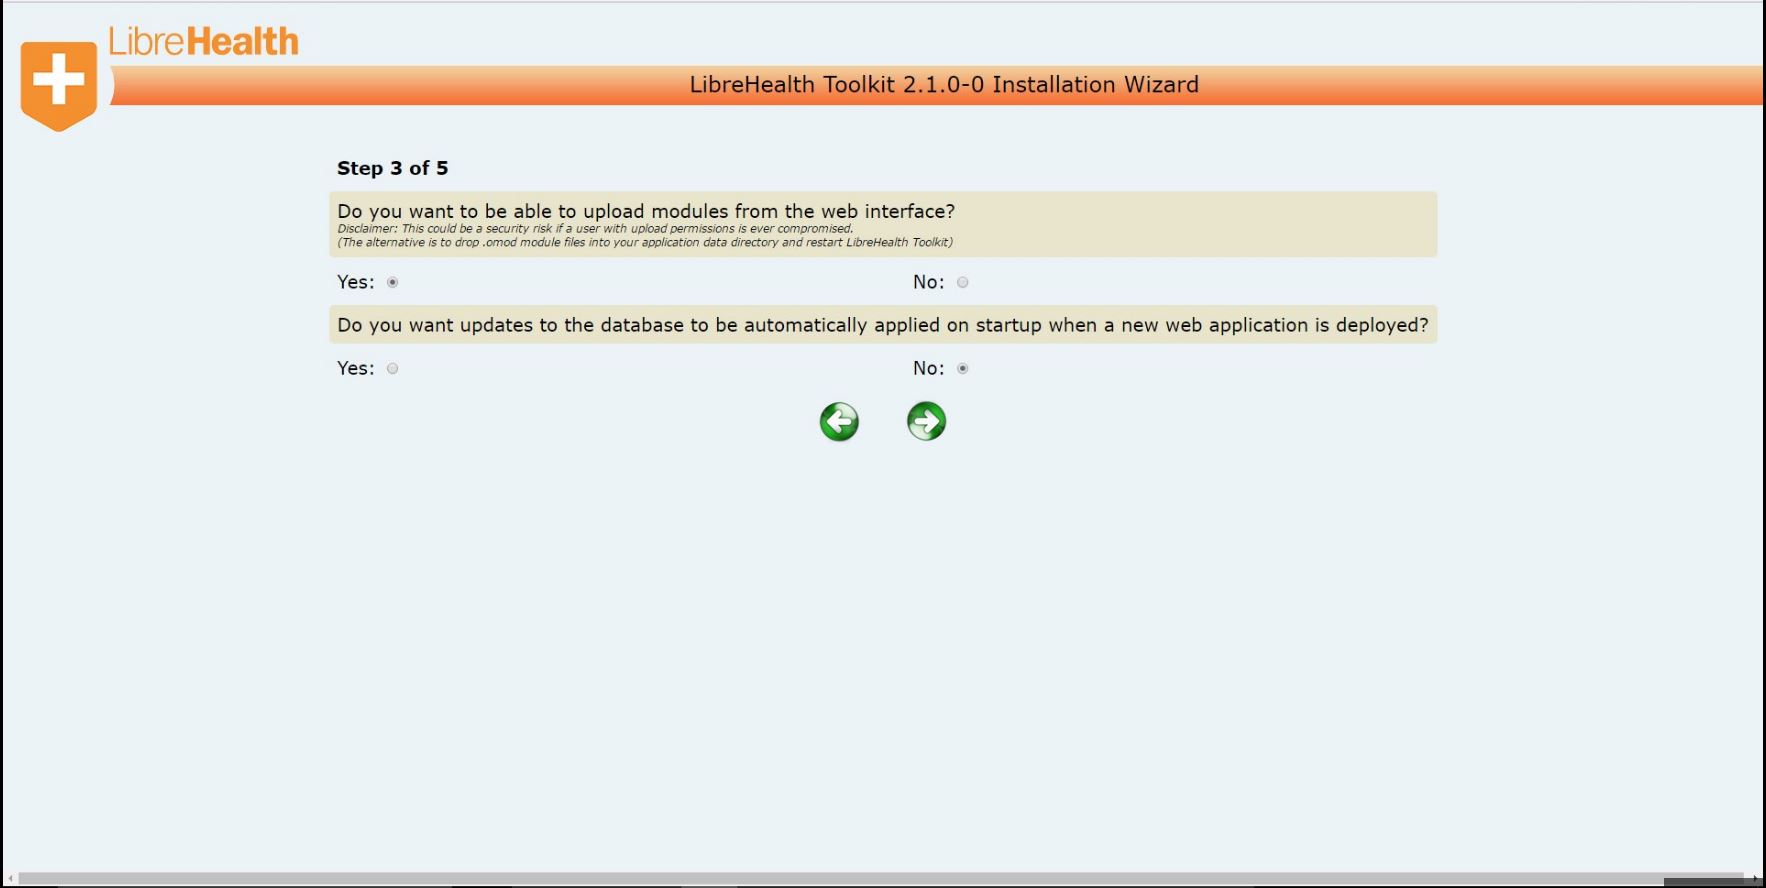
In step 3, the user is prompted whether to upload the modules form web interface and this is completely optional to the user. Selecting the default options would be suffice to go ahead with the installation.
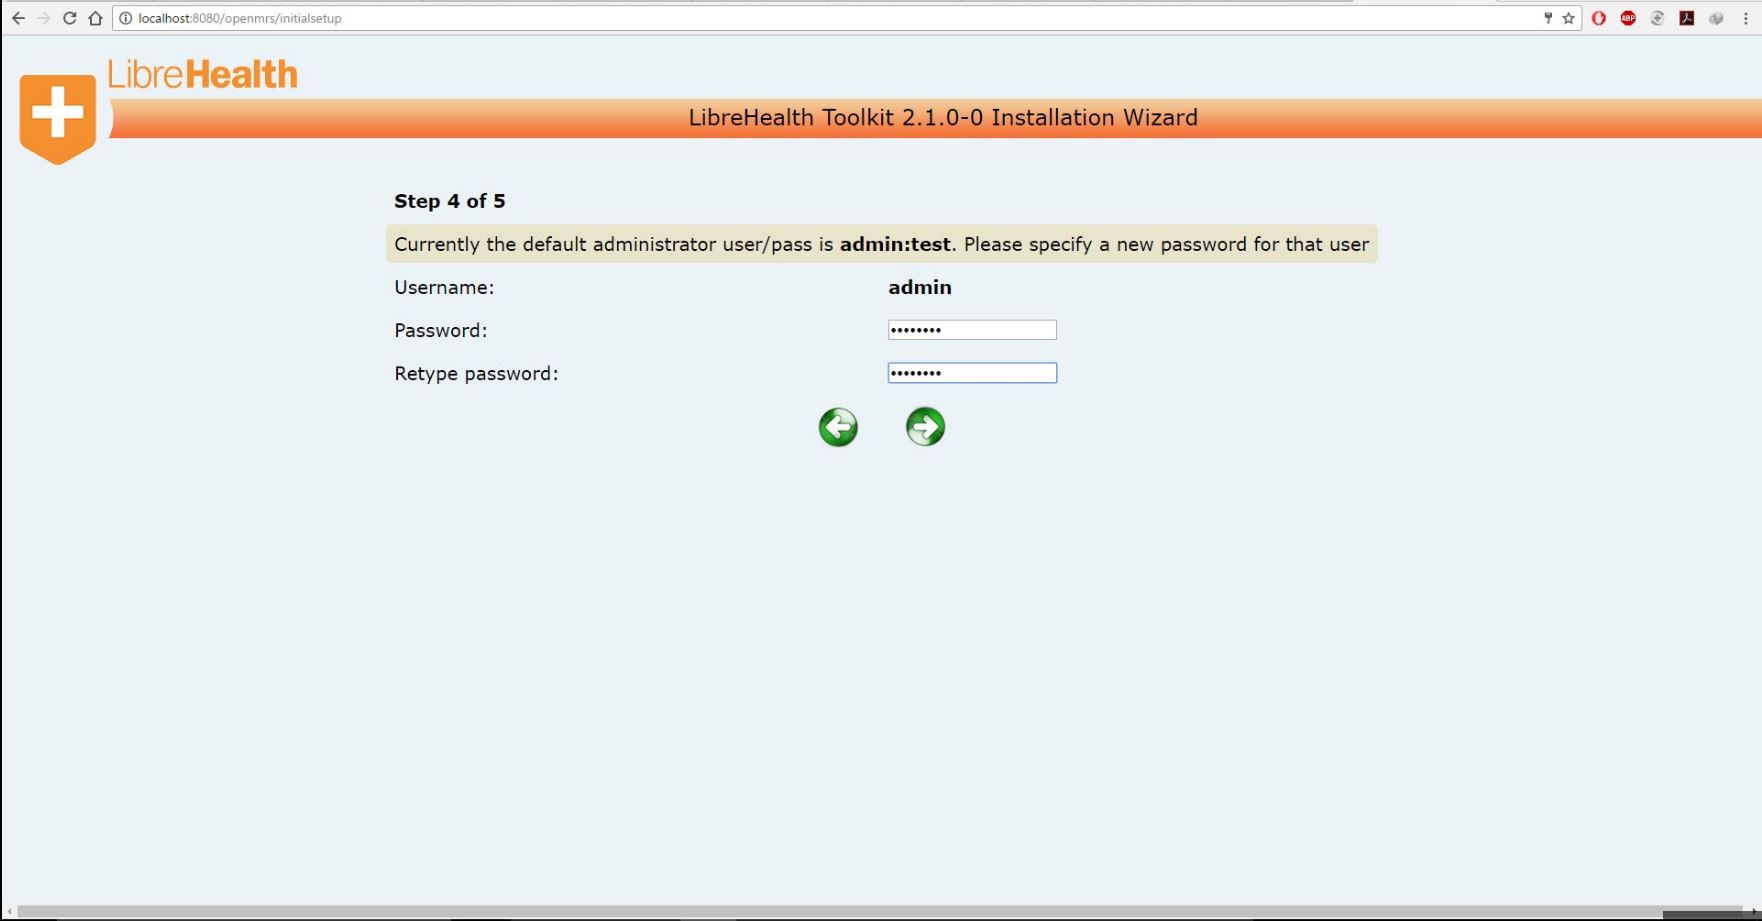
The admin password which will be given by the application as shown in the simple section has to be entered by default and a new password for each user can be created later
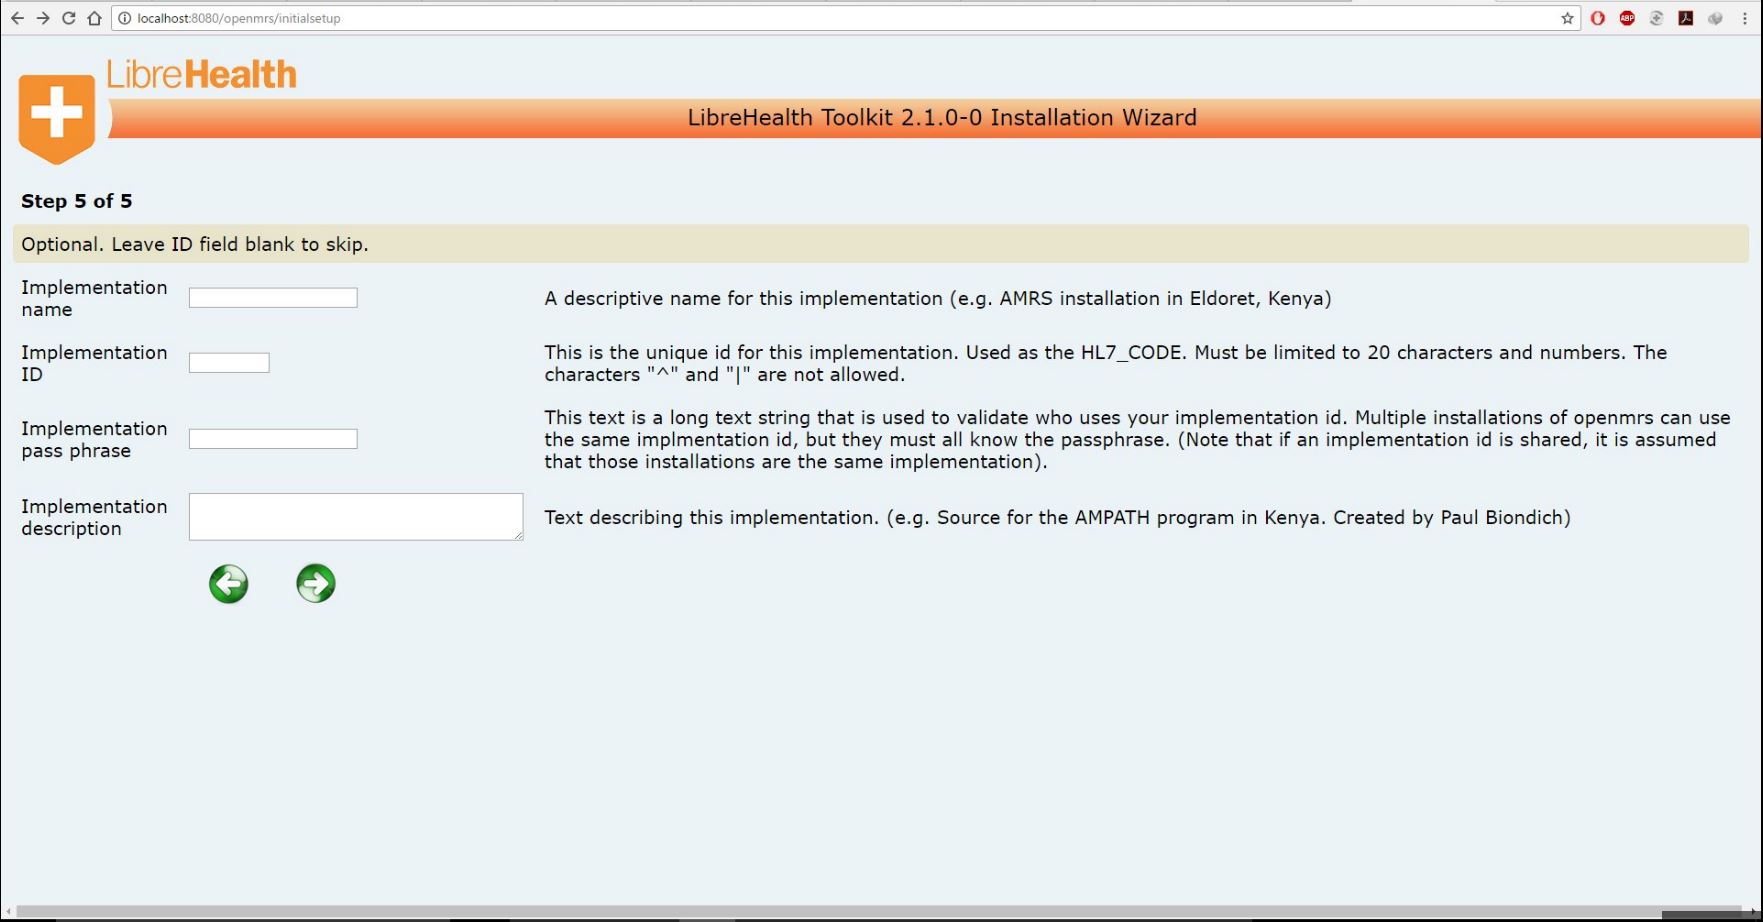
In step 5, the implementation details can be entered and as the descrpiptions shown beside the titles, it is important to name them uniquely with corresponding descriptions incase of many similar installations of openmrs.
After completing all the 5 steps of advanced installation a screen appears like the confirmation screen in simple installation, where all the deatils entered by the user and also the installation directory will be specified. In the next step, the database creation and installation will happen as shown in the previous procedure.
LibreHealth Installation on Linux
<iframe width="854" height="480" src="https://www.youtube.com/embed/xqwgr-1DJAs?list=PLwUh2zg2l0OnVPex8bpukQ3-FlBIzssRv" frameborder="0" allowfullscreen></iframe>
LibreHealth Installation on Windows
https://youtu.be/INx5iBttMig?list=PLwUh2zg2l0OnVPex8bpukQ3-FlBIzssRv
LibreHealth Radiology Installation on Linux
https://youtu.be/ogeqvsyuF_M?list=PLwUh2zg2l0OnVPex8bpukQ3-FlBIzssRv
LibreHealth Radiology Installation on Windows
https://youtu.be/KN14mnvfzRk?list=PLwUh2zg2l0OnVPex8bpukQ3-FlBIzssRv